Armature Building
To begin with I used my armature plans to guide me with cutting up the various pieces of K&S that were going to be used in my armatures. I used three different types of K&S in my builds: for the upper arms and legs a piece of round Brass K&S were used, this type of K&S would reduce friction on the wire when animating. For the lower arms, lower legs, chest, crotch and head the larger of the two square pieces of Brass K&S were used, this would allow me to create replacements for arms, hands, legs and feet for my models when using the third and final type of K&S to slot into the larger piece. All the pieces were filed down to remove any jagged edges and reduce friction.
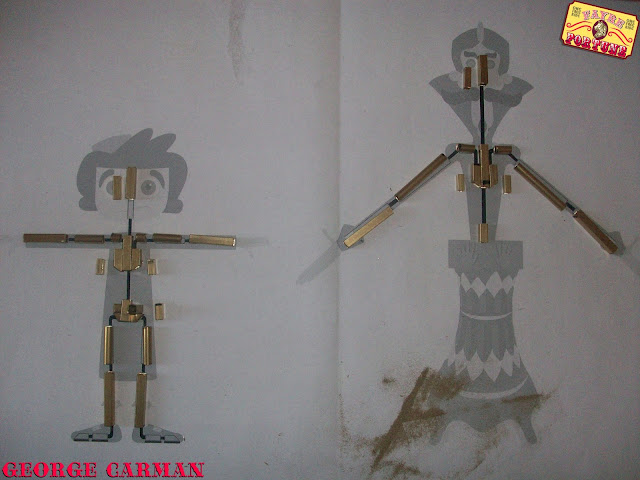
The next stage in my armature building was assembling the various limbs and body parts with wire. I used two strands of aluminium wire and one strand of copper wire twisted together this was the covered in heat sink to reduce friction (shown above).
I then glued the pieces together with Epoxy glue, and left to dry them to dry. It's clearer in these photos how all the different sections of the models assemble together, and how limbs can be replaced if breakage occurs.
As you can see I removed the shoulder segments of Diana from my build, I did this as when I built her original arms the shoulders made her appear to bulky and broad in her stature. original arm is show above.
Once the Epoxy glue had dried I was able to finally assemble my armatures, I then used a hammer and a nail to tap were sections connected allowing them to click in and out of place.
Finally I mixed together some Milliput and manipulated this around the chests and crotch of my armatures, this helped strengthen these parts.


No comments:
Post a Comment