Tuesday, 12 February 2013

Padding

Crotch


The padding for the crotch was made from a hard but light material used to insulate fireplaces. This material is very easy to cut and sand down, allowing you to create you desired shape to pad out a model. I created the crotch in two parts and then stuck them together with my armature in between using Uhu.


 I left a gap in the back of the crotch's padding as this is where a rigging point was found (shown on the left) I also had to do the same for a rigging point found on the side. (shown below) Although both of these rigging points were not used in creating my final animation I believe you can never be to safe, plan for the worst so you are prepared.

Final padded crotch below.  


Chest


The padding for the chest was made from the same material as the crotch and also in two parts which where then sealed together around my armature using Uhu.

My armature laying in the back sections of my padding.


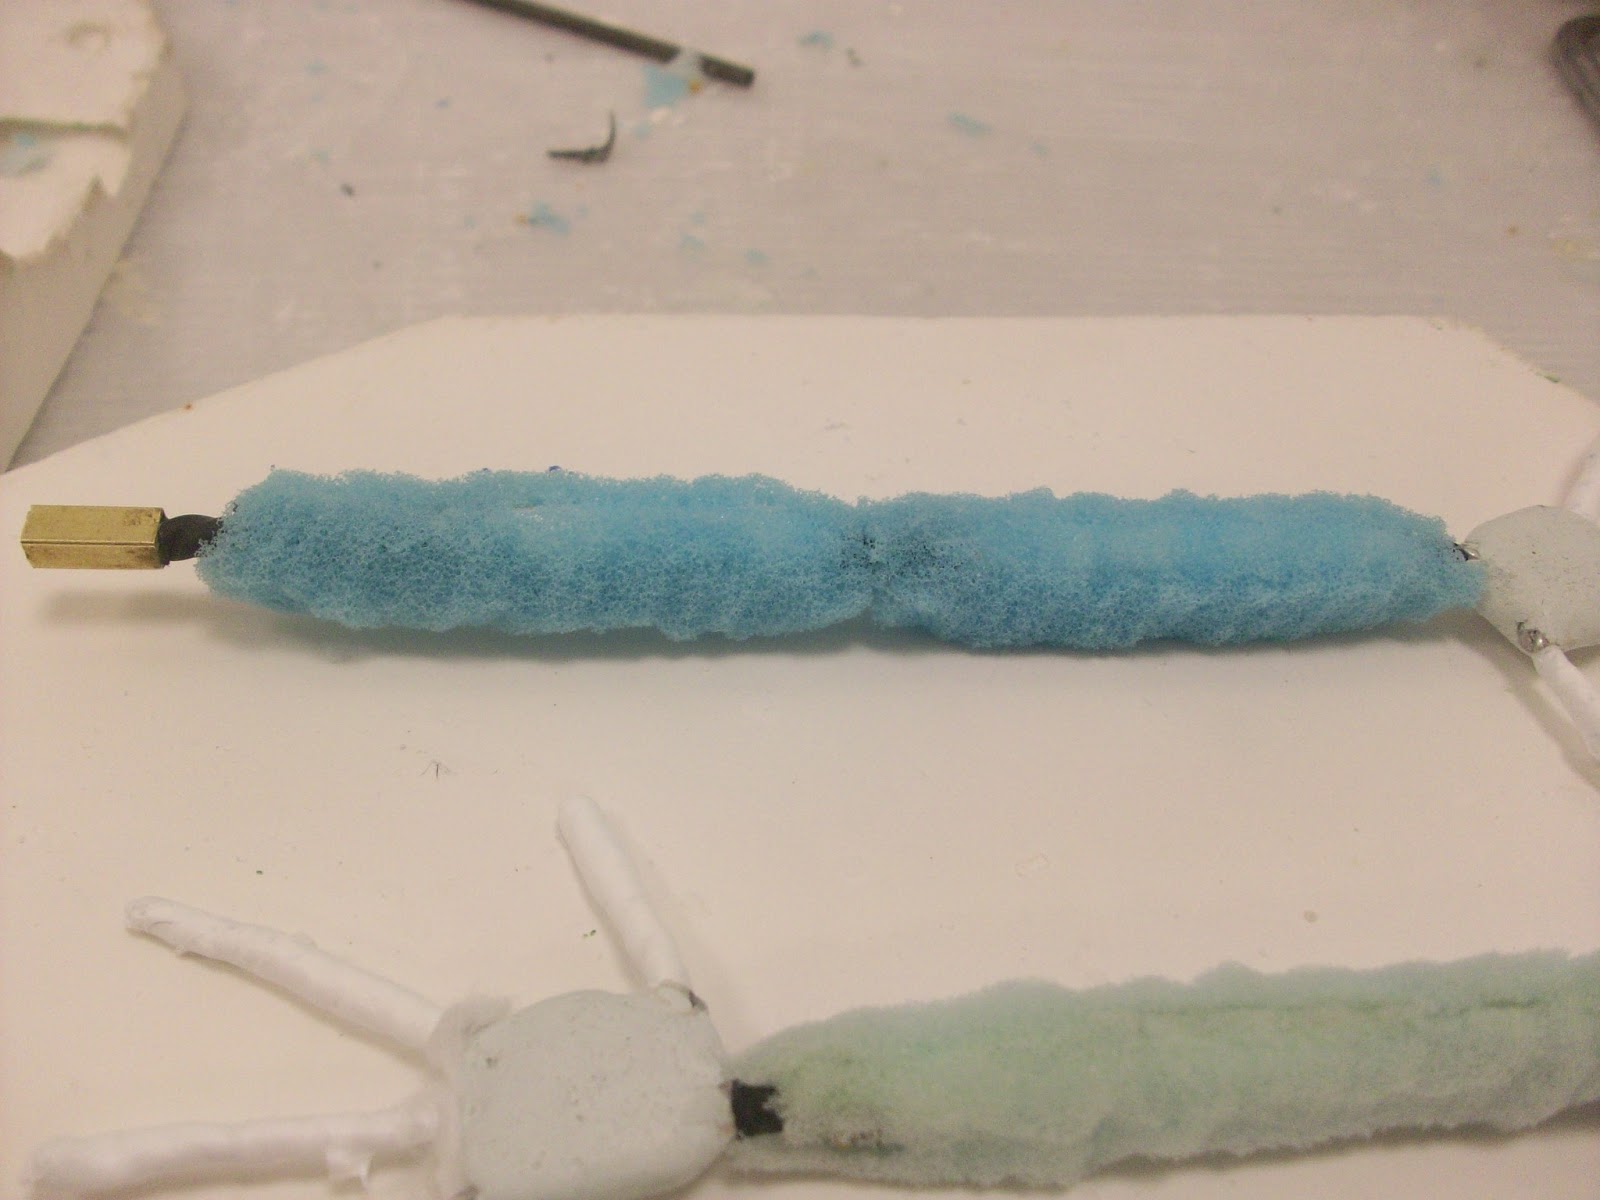
The middle of my armature, what would be the belly, was padded out with blue foam. Common in househole sofas and available at most home furniture shops, this foam is softer and allows for more squash.

Legs

The legs where padded out using a foam I had laying around at home. The foam was most likely from a box that a present came in, it was already in straight segments it was just a case of making the foam more of a cylinder shape as appose to a rectangular prism. Most foams found in packaging always come in handy some keep hold of them! 

Sunday, 20 January 2013

Latex Casting

Shoes


I begun the latex casting by firstly bulking out the armatures of my feet with styrofoam as shown above. This helped give me more of a solid object to animate with once the latex was placed around the foam. I began applying latex to my mould starting with the brown bulk of the shoe, I kept within the lines painting in two layers. I then painted the black into the mould to give the impression of the shoes sole once again two layers where applied. Finally I painted the green in to the mould, at this stage I could use the green mixture to make the latex as thick as I wanted. The final outcome can be seen below.  


Arms and Hands

A similar process was taken on my arms and hands, I bulked out the main section of the arm with styrofoam and wrapped the fingers with plumbing tape so that the armatures would sit in the cast tightly. As shown below


A closer look at how I bulked
out the hands and the arms.  Click the images.

The armatures were then pushed into my mould, which had been painted with several layers of latex.


Closer inspection of the hands and the arm in the cast . Click the images. the K&S was used as a fixture point to keep the arm in place. I then painted latex around the split line of the two sides of the cast and pressed them together with a clamp.

My final hands with one half of the cast removed.


Unfortunately the right arms split line did not fuse together. I concluded that it was a result of two things I did wrong; firstly  not enough latex was applied around the seem and secondly the styrofoam used to bulk out the arm was to thick, resulting in the mess you see below. I cast a second arm which came out fine.


I trimmed away and excess latex with a pair of tiny scissors.


The final hands front and back.


Wednesday, 5 December 2012

Cast Away


My final sculpted feet placed on a piece of wood ready for casting, I added plastic walls as seen in the photo below.


When casting the feet I had to be careful that no bubbles got caught in the fine details of the shoes as I pored the plaster over them, therefore I used a fine paintbrush to paint the plaster on before engulfing the shoe. 
The final mould


I encountered another problem with the amount of plaster I made ( I didn't make enough) so I had to top up my mould once it had slightly set. Luckily the cast came out fine, but I used this as a learning curve to judge how much plaster I would need for further moulds. 

I sculpted the hands and arms together. Although I did make it possible for the hands to be removed when speaking to my lecturer, he suggested casting them together to save time on casts and also avoid having a slit on the wrist of my model.


Laying up my hands/arms I used a soft lump of plasticine to bury half my sculpts up to a split line, I left the backs of where I placed them hollow to help me remove the plasticine when casting the other side of my two part mould.


I then covered the sides in plastic boards and applied vaseline to the plasticine so the plaster wouldn't become stuck after it had set.


Yet another problem with my moulds when casting the first side of the hand/arm mould I rook apart the plaster from the plasticine, and the arms remained in the plasticine. I then had to carefully remove the arms and place them in the first side side of the cast being careful not to damage my sculpt. I think this happened due to me burying to much of the arms, or applying the plasticine to firmly around my sculpt.


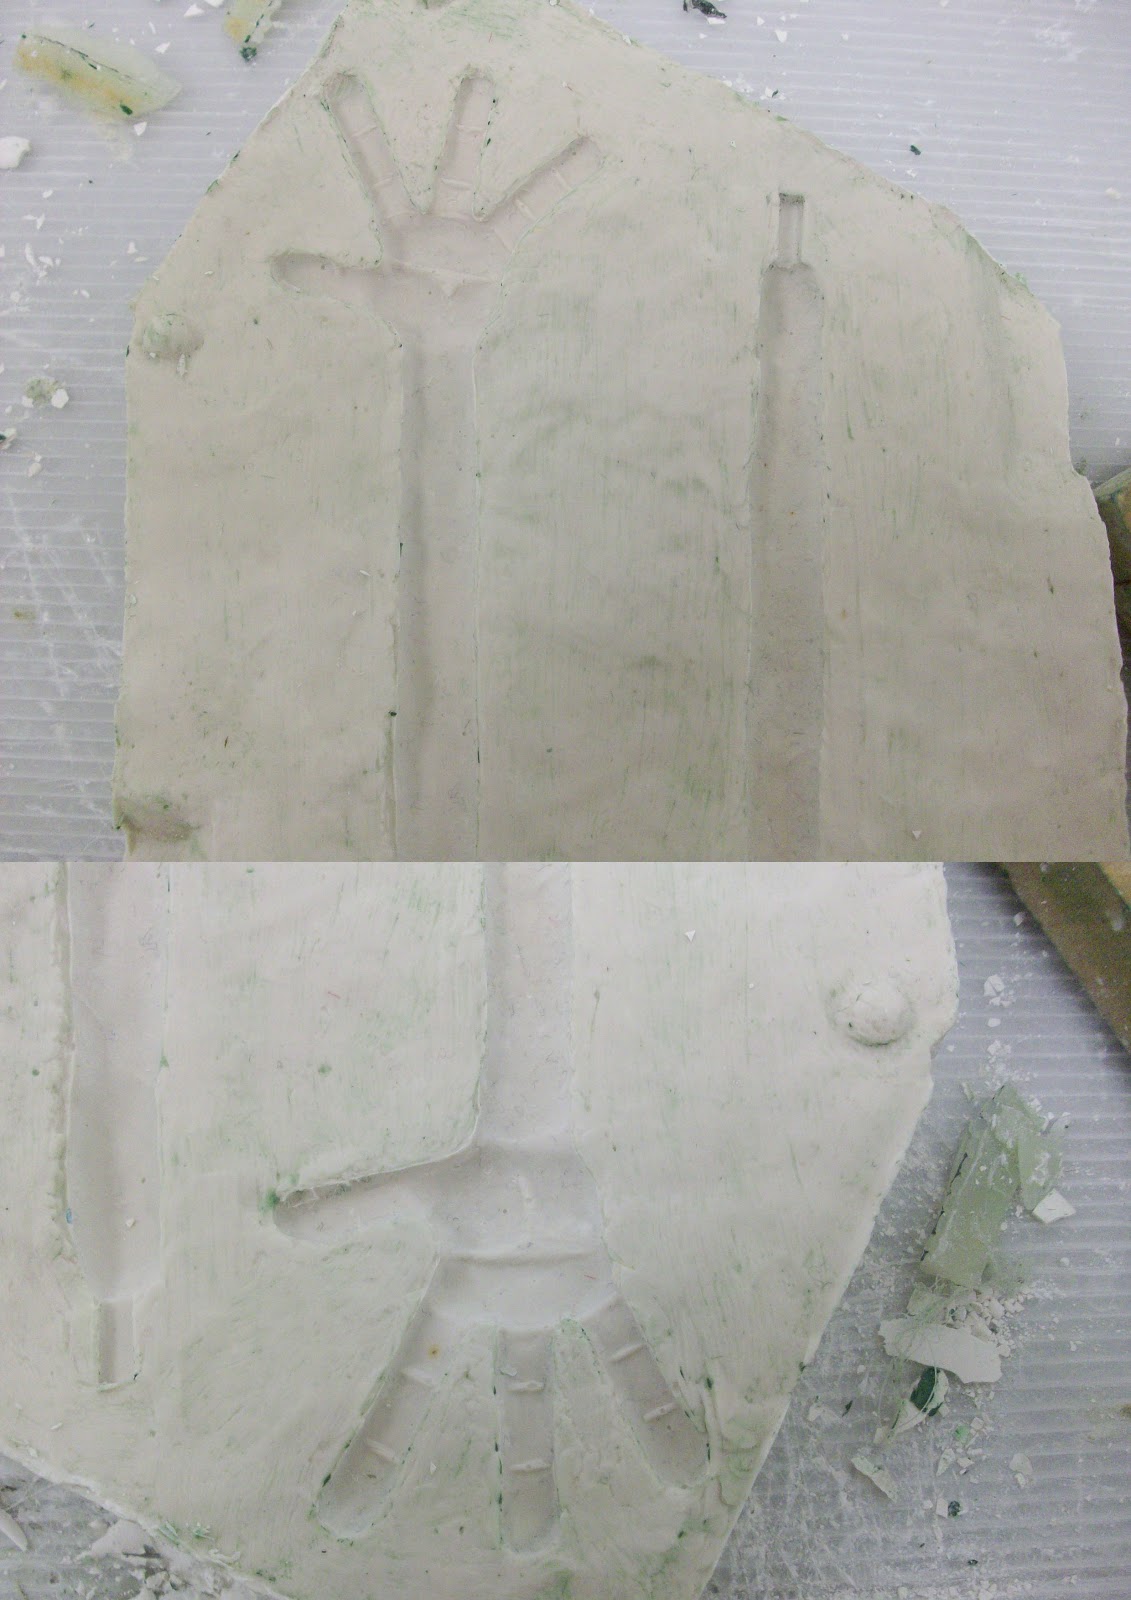
The above images show my first side of the cast in more detail, and my hands after hours of carefully placing them in to the cast. The joooooy.


I then applied vaseline and pored the plaster to make the other side of my cast, and hey presto my two part cast was done as shown below.


Monday, 3 December 2012

A Long Time Coming (Thats What She Said)

So I haven't updated my blog in a while and I've come along on this project quite a bit, so over the next few days there will be a bombardment of pictures. just want to bring everyone up to date as to where I am. 

So the above images as the annotations state show my armature at its early stages.

Hands and Arms


 Next are the hands in a bit more depth, once again the images contain annotations. At this stage the hands where made detachable but due my character having a short sleeved top I had to cast the hands and arm together meaning that this step could have been removed in my armature plan.


Feet and Legs


Crotch


Torso


Assembling the Final Product