Monday, 21 April 2014

Interior Set Part 1

Happy easter everyone! Now lets take a look at how I built my set. Before I started to physically build anything I made a mock up of the interior of my set on Google SketchUp. This helped with getting exact measurements for the floor layout, walls, the window, the door, and most importantly the stairs.


Now lets get away from that computer!

The base of my set was taken from the set I used last year, I simply removed the top and placed a new piece of  MDF in its place. To give the effect of wooden floorboards I had to use A LOT of balsa wood. I drew a layout onto the MDF to give me a guide as to where the floor boards would go. I then cut up strips of balsa wood, of equal measurement and glued them onto the MDF board using UHU.


I built up layers of watered down acrylic paint to get the desired colour I wanted for the floor boards. 


Due to the way I positioned my shots in my animatic I only had to build and decorate two walls for the interior of the house. However one of these walls did have a flight of stairs.


Timber and 1.5 inch philips screws were used to to build the structure of the walls. As is evident from the photos. Timber was also used to give structure to the window frame, door frame and the steps to the stairs.


Thick cardboard was then placed on to the timber frames, securing it in place with UHU.


The steps to the stairs were then build up using balsa wood, using my mock up in SketchUp to obtain the perfect measurements. I will post photos of the final set in the coming week, hope you like the new blog design.

Monday, 14 April 2014

Showreel

I made a showreel sometime last month, it's taken me some time to get around to uploading it, but check it out if you've got a spare minute.


The showreel will be updated in June with work from my final year film, so stay tuned for that. Also keep your eyes peeled for the film itself.

L.I coming June 2014

Sunday, 13 April 2014

My C.V

As part of a business module at university we had to develop a C.V, a cover letter, a business card and an ultimate image. While the business card and ultimate image are still very much a work in progress ( I was unhappy with the final outcome so I'm still working on them both during the evenings) the C.V and cover letter I was pleased with. I will not post the cover letter up but have a look at my C.V. Feed back is more than welcome.


I'll post the business card and ultimate image once they are done to the standard I want them.

Saturday, 12 April 2014

The Miro's Limbs

Attaching the boots to The Miro's legs was quite a fiddly task, but we stopmo'ers love fiddly things. I had to make a small cut up the leg through the silicon, so I could remove the threaded rod which had K&S attached for moulding purposes. I then had to roll down the boots to expose the joint ball and carefully slot this into the link plates in the leg, tightening with an allen key.


The small cuts through the leg were then painted over with silicon in the same colour. I made sure to leave small markings on the legs so I could tighten the joints at a latter date if necessary.  


Attaching the hands to the arms was SOOO much easier. I first rolled back the silicon around the wrist and then slotted the larger K&S in the hand over the smaller K&S in the arm.


 I then made a small indent with a hammer and nail, into both pieces of K&S while they were inserted together.

Friday, 11 April 2014

Theodor's Head Part 2

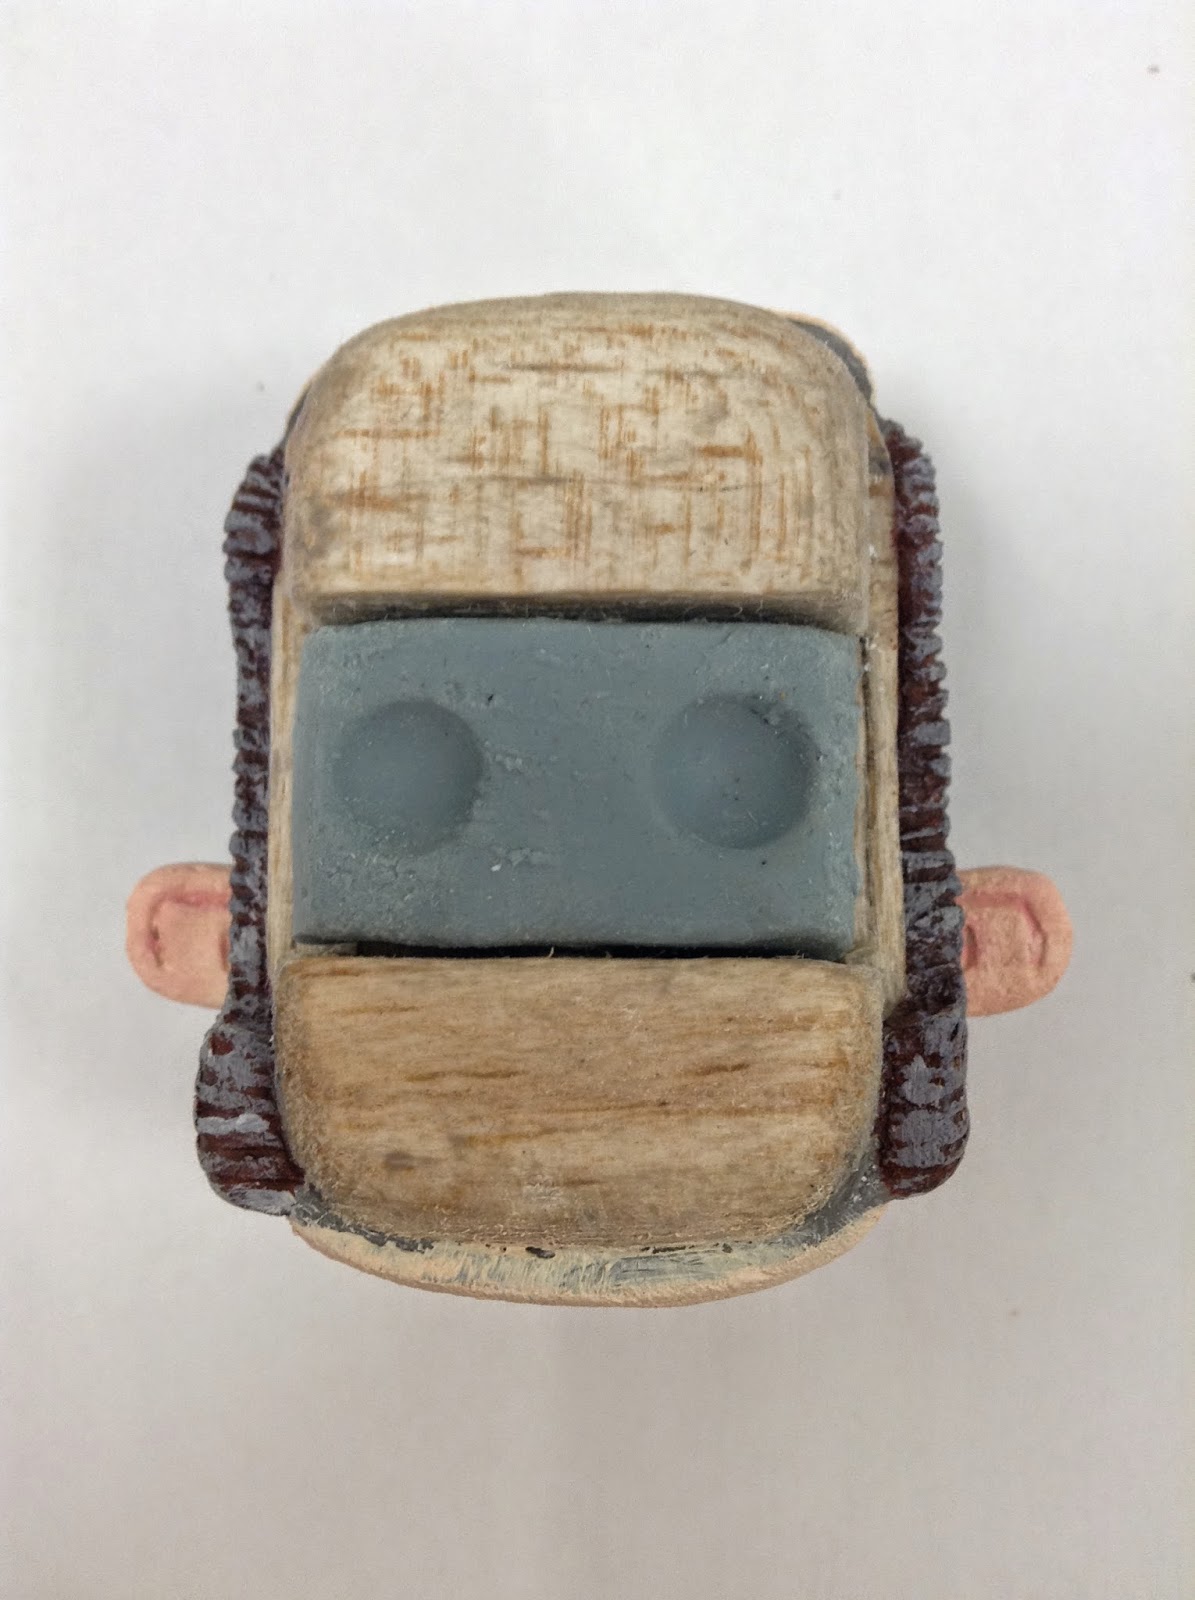
Theodor's head was painted using acrylic paints. The first set of photos show the back section to his head once painted.


The images below illustrate the front section once painted.


Below are photos of Theodor's head sculpt all together and painted.


The hat (that I'm certain my little sister gave me from a bag of doll clothes) was painted using washed down acrylic paint. A piece of cloth was sewn around the top. Once in place the hat helped keep the two sides of the head together at the top.


As is clear from these photos the eyes I had used were way to translucent, which gave Theodor a dead lifeless look. I therefor made a mould of the eyes in mould making silicon, and cast them in fast cast polyurethane resin.


A plaster mould was made for the moustache and eyebrows, a silicon cast was then made from this mould. The moustache and eyebrow's were then painted with grey silicon to match the hair. The moustache helped keep the two sides of the face together at the bottom.


Finally here is Theodor in all his glory! As you can see my interior set is done (I'll post about that within the week) and I've been filming for just under a week now. Hope you like him as much as I do!